

How to Install a nuc.

How to install a nuc
I. Picking up the NUC
A. After picking up the NUC please take it to the location that you are going to install it. Do not stop or leave the NUC shut up in your vehicle as your bees can over heat and die. If you are traveling for a long distance, ensure that the nuc has adequate air flow (turn your AC to low if necessary).
B. After arriving at the location where your hive is going to be located, place the nuc on a bottom board and your hive cover on the top of the nuc box to protect it from the elements. Open the front opening of the NUC boxes to allow the bees to exit the box.
C. Leave the Nuc undisturbed for at least 30 minutes to an hour to allow them time to settle down after their trip.
II. When to Install the NUC
A. When installing a NUC the Weather conditions is very important. Typically, you would wait until the outside temperature is at least 60 degrees and is not raining before installing the NUC.
B. However, because we live in Washington State if it is wet and the temperature has not reached 60 degrees you can still install the NUC if you follow these precautions.
1. If the temperature is below is above 50 but below 60 you can still install the NUC if you quickly remove and place the frames from the NUC box into the deep hive body.
2. If it is raining you can use a temporary shelter or a large umbrella to install the NUC, again quickly remove and place the frames from the NUC box into the deep hive body.
III. Install the NUC
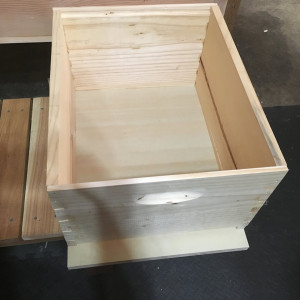
A. Remove the NUC from the bottom board and place the empty deep brood box on the bottom board placing the NUC as close as possible to the deep brood box to prevent bees from dropping on the ground during installation.
B. Before installing the NUC, place two empty deep frames on each side of the deep brood box. Open the lid of the NUC lightly smoking it. Afterward shake the bees on the lid into the box.
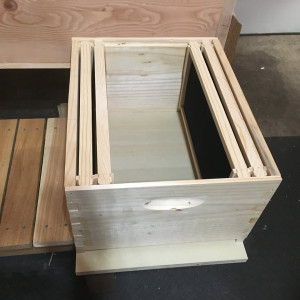
C. Starting from the one side of the NUC SLOWLY REMOVE the outside frame to prevent from rolling the queen or other bees. Place the first frame on the left side of the brood box keeping the frames in the same position that you remove them from.
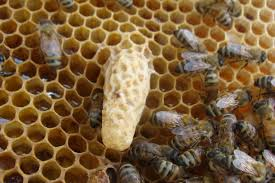
D. As you install the frames check for queen cell/s. If you see queen cell/s please do not remove before finding the queen. If you do not find the queen leave the queen cell/s but if you find her remove the queen cell/s at this time.

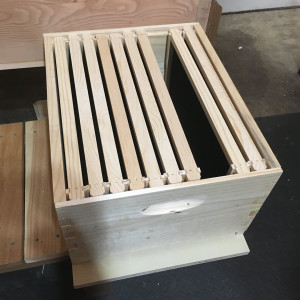
E. Once you have place your last Nuc frame in the deep brood box gently slide the two empty frames on the right side of the box against the nuc frame. Try not to squish any bees and definitely not the queen.
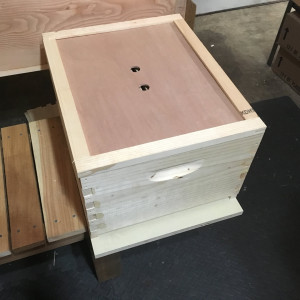
F. Place the last empty frame in the outside of the deep brood box slowly pushing all the other frames together and put the inner cover of the deep box.
. 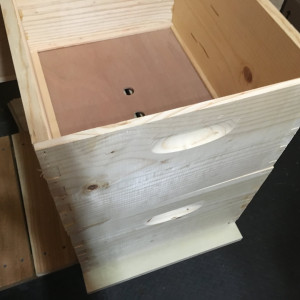
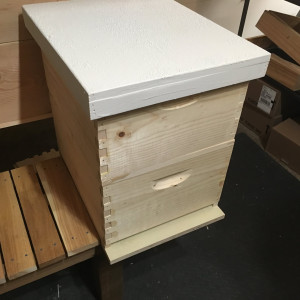
H. Place your second empty Deep Brood box on top of the inner cover.
IV. Feed the Bees
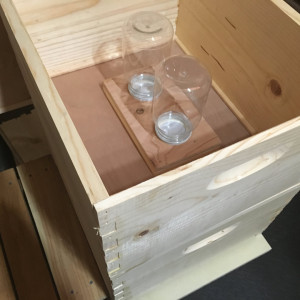
A. Place your feeder over the hole in the inner cover and add your sugar water. If you do not have this type of feeder, it is important that you find a feeder to feed your bees. Whatever you decide to use, you need to feed, feed, and feed.
B. Check the feeder but do move the frames for 7 to 10 days as the bees need this time to adjust to and build comb for their new home. Continue feeding until the first deep brood box has about 80 percent drawn comb with bees. After which time add the second deep brood box until it has 80 percent drawn comb covered with bees.